The installation step-by-step
Proper preparation is half the work! Five tips before you start:
1. Check whether your subfloor is suitable for installing Parquetvinyl.
2. Carefully measure the room and calculate how many boxes of Parquetvinyl you need to order.
3. Watch the installation videos before you start. They can clear up a lot of confusion and prevent stress.
4. To install Parquetvinyl you just need a few basic tools. Make sure you use good-quality tools. The cutter must be sharp and strong. That will help you do precise and beautiful work.
5. Make sure you have a good assistant because everything is more fun when there are two of you, including laying floors. Although it is not essential, you will certainly work a lot faster. It is easy to divide the work. One person prepares and cuts the planks and the other clicks them into place. If there are two of you, you will also have someone to toast the fantastic results with as well.
During installation
The great thing about jobs like this is that you see results quickly. You can work especially quickly in a room with few corners and obstacles. Unfortunately, not every room is equally straightforward. What do you have to keep in mind? Always place 8 mm compensating blocks between the wall and the first row of planks. In this way, you keep the expansion gap along the wall and you can still knock the planks firmly into place. Take a look at the clever tricks to help you end one row and start the next one quickly. If the planks are not entirely flat after they have been laid, they have probably not been clicked together properly! Carefully slide them out and do it again. A proper click is essential to enjoy your floor with no worries for a long time. Always use a striking block and a rubber mallet. Tap the short side first and then the long side. The striking block prevents damage to your floor.
After installation
Ready for the finishing touch? Remove the spacing blocks and fit the skirting boards to the wall. They cover the expansion gaps to ensure a good result. Use elastic silicone in places where you cannot install skirting boards. The floor must be able to move continually in the expansion gaps. We are often asked what looks better, skirting boards in the same style as the floor or paintable skirting boards. This is a personal choice, and there is no arguing about colours and taste. At any rate, we offer both. When everything is finished neatly, it is best to sweep or vacuum the room. Once you have mopped the room as well, there is just one thing left to do: raise your glasses and enjoy your fantastic floor!
Frequently asked questions
Proper preparation is half the work! Five tips before you start:
1. Check whether your subfloor is suitable for installing Parquetvinyl.
2. Carefully measure the room and calculate how many packs of Parquetvinyl you need to order.
3. Watch the installation videos before you start. They can clear up a lot of confusion and prevent stress.
4. To install Parquetvinyl you just need a few basic tools. Make sure you use good-quality tools. The cutter must be sharp and strong. That will help you do precise and beautiful work.
5. Make sure you have a good assistant because everything is more fun when there are two of you, including laying floors. Although it is not essential, you will certainly work a lot faster. It is easy to divide the work. One person prepares and cuts the tiles and the other clicks them into place. If there are two of you, you will also have someone to toast the fantastic results with as well.
During installation
The great thing about jobs like this is that you see results quickly. You can work especially quickly in a room with few corners and obstacles. Unfortunately, not every room is equally straightforward. What do you have to keep in mind? Always place 8 mm compensating blocks between the wall and the first row of tiles. In this way, you keep the expansion gap along the wall and you can still knock the tiles firmly into place. Take a look at the clever tricks to help you end one row and start the next one quickly. If the tiles are not entirely flat after they have been laid, they have probably not been clicked together properly! Carefully slide them out and do it again. A proper click is essential to enjoy your floor with no worries for a long time. Always use a striking block and a rubber mallet. Tap the short side first and then the long side. The striking block prevents damage to your floor.
After installation
Ready for the finishing touch? Remove the spacing blocks and fit the skirting boards to the wall. They cover the expansion gaps to ensure a good result. Use elastic silicone in places where you cannot install skirting boards. The floor must be able to move continually in the expansion gaps. We are often asked what looks better, skirting boards in the same style as the floor or paintable skirting boards. This is a personal choice, and there is no arguing about colours and taste. At any rate, we offer both. When everything is finished neatly, it is best to sweep or vacuum the room. Once you have mopped the room as well, there is just one thing left to do: raise your glasses and enjoy your fantastic floor!
Frequently asked questions
Proper preparation is half the work! Five tips before you start:
1. Check whether your subfloor is suitable for installing Parquetvinyl.
2. Carefully measure the room and calculate how many packs of Parquetvinyl you need to order.
3. Watch the installation videos before you start. They can clear up a lot of confusion and prevent stress.
4. To install Parquetvinyl you just need a few basic tools. Make sure you use good-quality tools. The cutter must be sharp and strong. That will help you do precise and beautiful work.
5. Make sure you have a good assistant because everything is more fun when there are two of you, including laying floors. Although it is not essential, you will certainly work a lot faster. It is easy to divide the work. One person prepares and cuts the planks and the other clicks them into place. If there are two of you, you will also have someone to toast the fantastic results with as well.
During installation
The great thing about jobs like this is that you see results quickly. You can work especially quickly in a room with few corners and obstacles. Unfortunately, not every room is equally straightforward. What do you have to keep in mind? Always place 8 mm compensating blocks between the wall and the first row of planks. In this way, you keep the expansion gap along the wall and you can still knock the planks firmly into place. Take a look at the clever tricks to help you end one row and start the next one quickly. If the planks are not entirely flat after they have been laid, they have probably not been clicked together properly! Carefully slide them out and do it again. A proper click is essential to enjoy your floor with no worries for a long time. Always use a striking block and a rubber mallet. Tap the short side first and then the long side. The striking block prevents damage to your floor.
After installation
Ready for the finishing touch? Remove the spacing blocks and fit the skirting boards to the wall. They cover the expansion gaps to ensure a good result. Use elastic silicone in places where you cannot install skirting boards. The floor must be able to move continually in the expansion gaps. We are often asked what looks better, skirting boards in the same style as the floor or paintable skirting boards. This is a personal choice, and there is no arguing about colours and taste. At any rate, we offer both. When everything is finished neatly, it is best to sweep or vacuum the room. Once you have mopped the room as well, there is just one thing left to do: raise your glasses and enjoy your fantastic floor!
Frequently asked questions
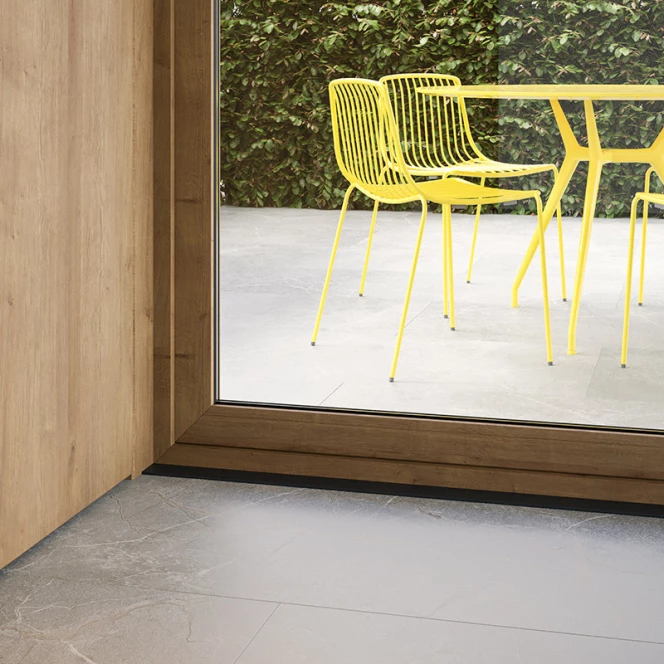
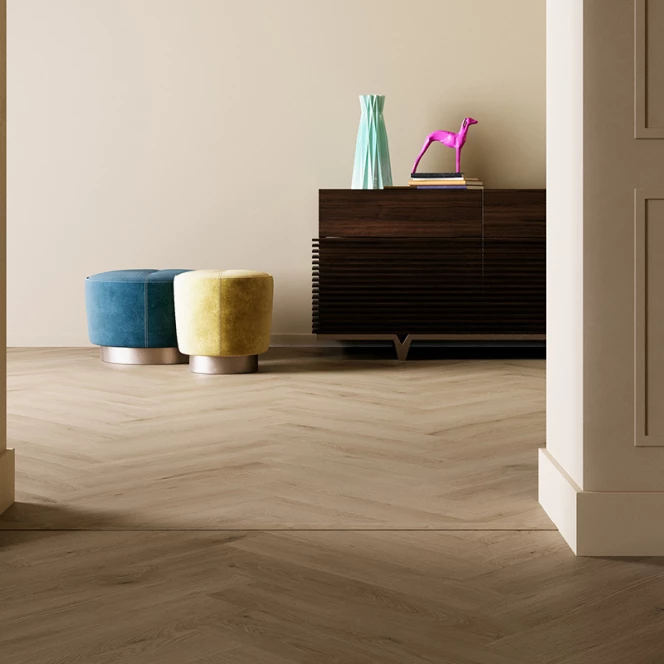
Finished down to the last detail.

Skirting boards
You can use our skirting boards to give your Parquetvinyl floor a beautiful finish. Choose from different types of paintable skirting boards or decorative skirting boards with the same look as your floor. All our skirting boards are made of water-repellent MDF.
Profiles
Our matching profiles are available for all colours and collections, so they match your floor 100%. We also have aluminium profiles. They have a streamlined design and are available in four colours.
1-for-all profile
One profile, three functions: that’s our 1-for-all profile. You can use a utility knife to easily adapt this profile to the purpose for which you need it. The profile is available in the same look as your floor.